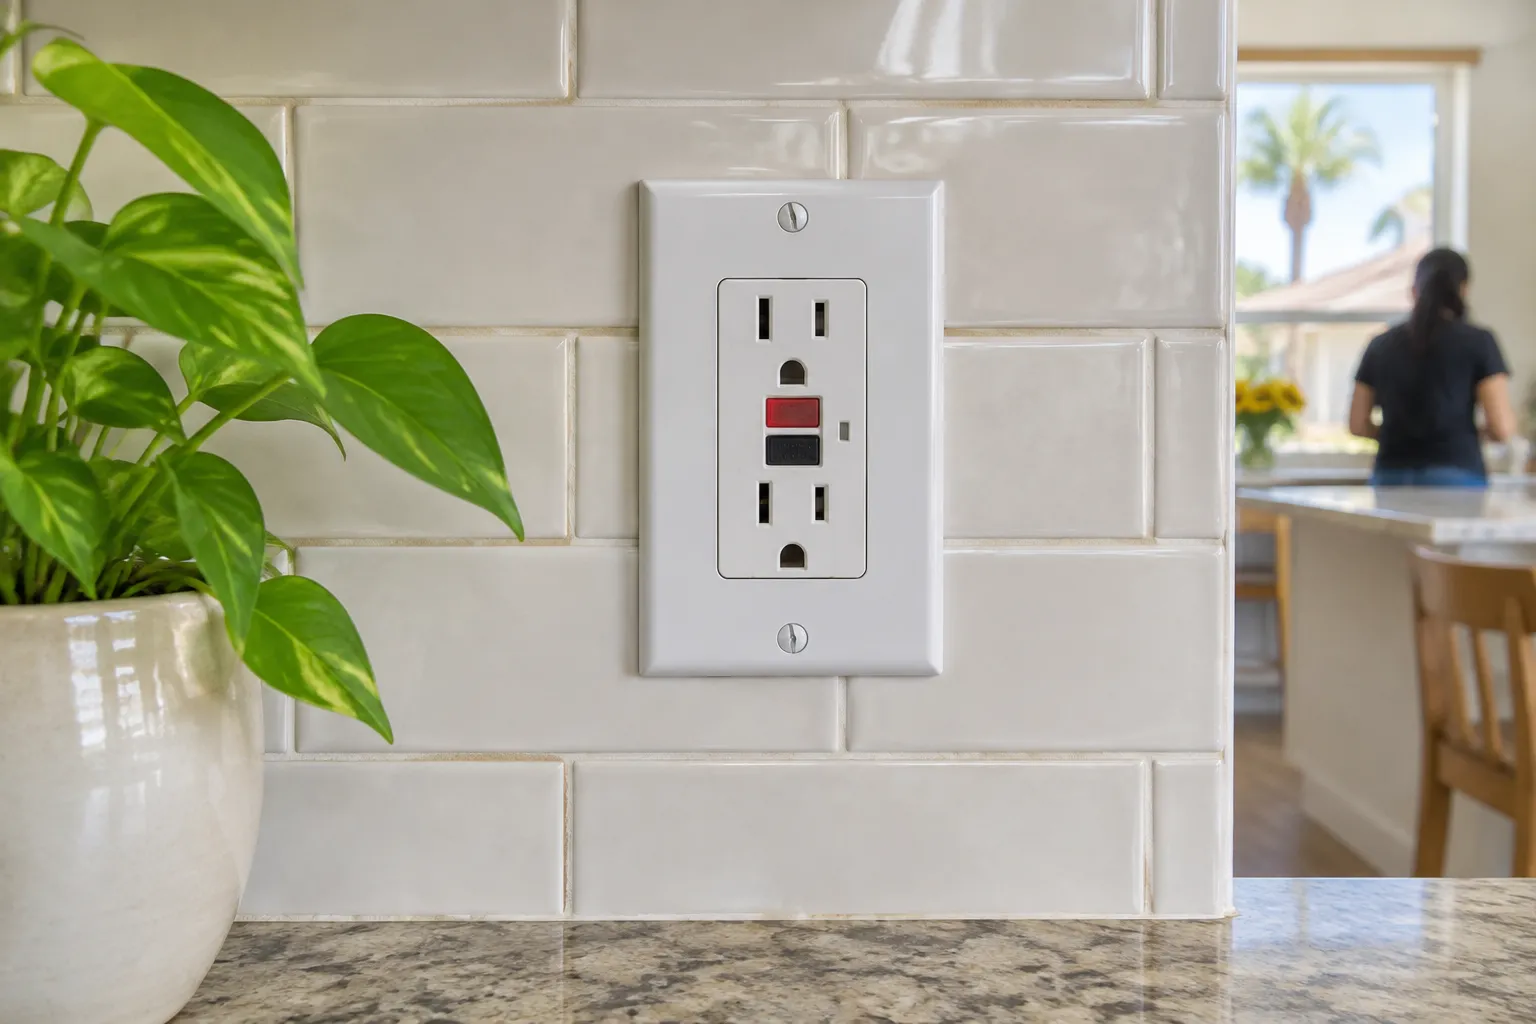
Installing a GFI outlet, usually called a GFCI, means switching off the circuit, confirming it is dead, disconnecting the old receptacle, connecting the incoming power to the marked line terminals and any protected outlets to the load terminals, then pressing test and reset. The steps are simple, and you can fix a failed device this way. The risk is in the wiring you meet behind the old outlet. This guide, part of the outlets, switches and GFCI section, explains the job, the special cases and where the legal line sits. It is for understanding the work, not a substitute for a local electrician when anything looks unclear.
What does a GFCI outlet installation involve?
Installing a GFCI means replacing a standard receptacle with one that watches the current leaving and returning on the circuit and cuts power when they differ. The work involves turning off the breaker, testing for power, moving the wires to the new device and testing the finished outlet.
The device compares the current going out with the current coming back. Safe Electricity says a difference of 4 or 5 milliamps is enough to make it cut power, in less than one-tenth of a second. That is what protects you if current is leaking through you or through water.
The parts of the job:
- Switch off the breaker and confirm the outlet is dead with a tester.
- Remove the cover plate and the old receptacle.
- Identify which wires bring power in and which, if any, carry it on to other outlets.
- Connect them to the correct terminals on the GFCI.
- Fold the wires back, secure the device and fit the plate.
- Restore power, then press test and reset.
If you are weighing the price of having this done, see GFCI outlet installation cost.
How do you wire a GFCI outlet, line and load?
A GFCI has two sets of terminals. The line terminals take the power coming from the panel. The load terminals pass protection to any outlets further along the circuit. Connect the incoming cable to line and, only if other outlets must be protected, the outgoing cable to load. Reversing them is the most common installation mistake.
The usual sequence, once power is off and tested dead:
- Photograph the old wiring. Before disconnecting anything, take a photo and note how many cables enter the box. One cable usually means the outlet is the last in the run. Two cables mean power continues to other outlets. Never test wires while the power is on and never hold live wires apart. If you cannot tell which cable is the incoming one, stop and call an electrician.
- Label the line pair. Tape or mark the incoming cable's wires so they cannot be mixed up.
- Connect line. The hot wire goes to the brass line terminal, the white neutral to the silver line terminal and the bare or green ground to the green screw.
- Connect load if needed. If a second cable carries power on to other outlets, it goes to the load terminals, hot to brass and neutral to silver. If there is no second cable, leave the load terminals covered.
- Mount the device. Fold the wires neatly, keep the ground connected and screw it in.
- Test. Restore power, press test, confirm the reset pops out, press reset and confirm it works.
Many people go wrong by connecting the two cables the wrong way around, or by using push-in holes that are loose. If the GFCI will not reset after you install it, the likely cause is the line and load swap, which is covered in outlet reset button not working.
How the protection works inside the box is explained at electrical wiring for a GFCI outlet.
Can you install a GFCI outlet yourself in California?
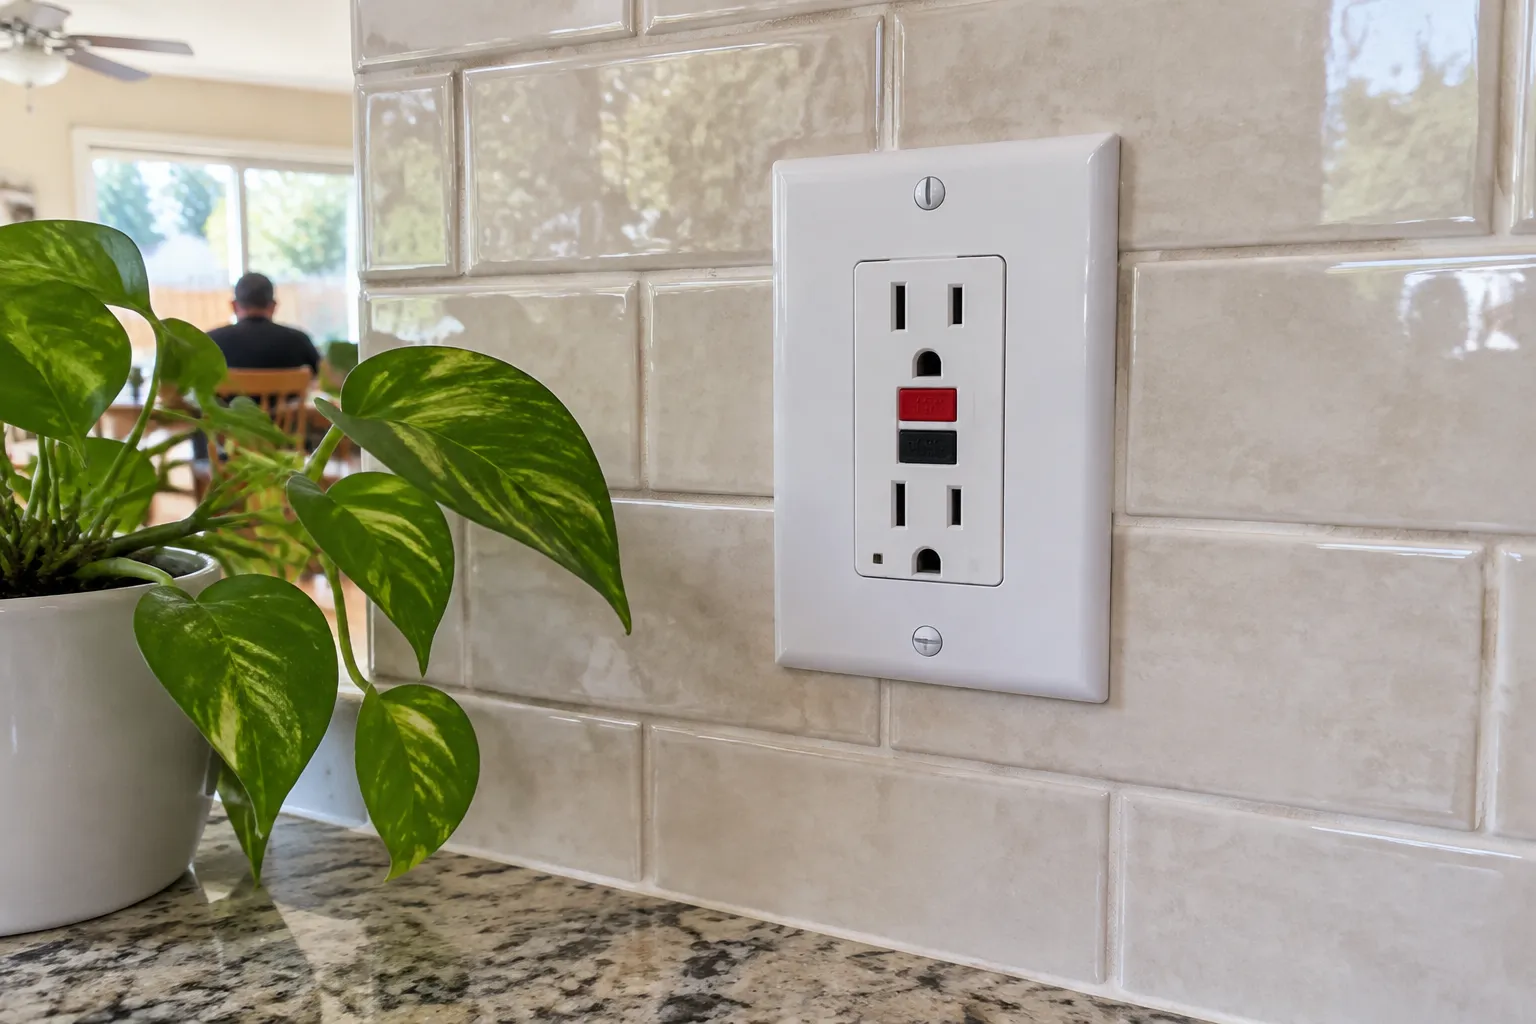
Owners may do work on their own property under an owner-builder exemption described by the Contractors State License Board, within limits, and a like-for-like swap is within reach for many people. The code and any permit rule still apply. Work for others must be done by a contractor holding a C-10 electrical license.
In practice:
- A swap of a standard outlet for a GFCI in the same box is the simplest case, but ask the City of Stockton permit center whether a permit applies, because rules differ by jurisdiction.
- A new outlet or new wiring nearly always needs a permit and an inspection.
- Old or damaged wiring, aluminum wire, cloth-covered cable or no ground means stop and call a local electrician.
- If a permit is required, the inspection is part of the job. Do not skip it.
California adopts the National Electrical Code with amendments. The 2025 California Electrical Code took effect on January 1, 2026. Your electrician works to the edition the city enforces.
How do you install an outdoor GFCI outlet?
An outdoor outlet needs a GFCI, a weatherproof box and an in-use cover that keeps the plug dry while it is connected. The install follows the same line and load steps, but the box, gasket and cover matter as much as the device. Water in the box is the main reason outdoor GFCIs trip.
For outdoor work:
- Use a weather-resistant GFCI rated for the location.
- Seal the box to the wall with the right gasket and caulk the edge.
- Fit a cover that closes over a plugged-in cord.
- Run cable that is rated for the conditions, in conduit where exposed.
- Test after rain.
Adding a new outdoor circuit nearly always needs a permit. If the existing outdoor outlet keeps tripping, outlet not working covers the checks to run first.
What about 15 amp outlets, dryer outlets and other special cases?
Not every outlet is a simple GFCI swap. A 15-amp outlet on a 15-amp circuit is the common household case. Dryers need a different outlet, kitchen islands need cable through the cabinet, and coax outlets are low-voltage and not covered by GFCI rules. Each has its own rules.
- 15 amp outlet installation. A 15-amp receptacle is standard on a 15-amp circuit, typically wired with 14-gauge cable. Do not put a 15-amp device on a larger circuit without checking the rules. The wiring basics are on the outlet wiring basics page.
- 4-prong dryer outlet installation. A modern dryer outlet is 240 volts with four slots, so the circuit has two hot wires, a neutral and a ground. It needs a double-pole breaker and heavier cable. This is electrician work in nearly every case.
- Kitchen island outlet installation. The cable has to reach the island through the floor or cabinet base, and code sets rules on where outlets go. Plan it with an electrician before the cabinets go in.
- Rear toilet outlet. Outlets near a toilet or bidet fall under bathroom rules, which call for GFCI protection.
- Ice maker or appliance outlet boxes. A recessed box behind an appliance still needs the right protection for the room.
- Coax and cable outlets. These are low-voltage wall plates installed by the provider or an electrician. No GFCI is involved.
- A ceiling fan with a light on one switch. That is a switch wiring question, not a GFCI one. See ceiling fan installation wiring.
When should you stop and call a local electrician?
Stop and call a local electrician if you find scorch marks, aluminum wire, cloth-covered cable, no ground, a breaker that trips again, wires you cannot identify, or an outlet that is warm. These signs mean the problem is bigger than the device.
Other triggers:
- You are not sure which cable is line and which is load.
- A tester gives readings you do not understand.
- The box is too crowded to fit the GFCI, which is deeper than a standard outlet.
- The work involves a new circuit, a 240-volt outlet or the panel.
- You are unsure about permit rules.
If there is smoke, fire or a shock injury, call 911. For local help in Stockton, a quote request lets electricians see your job before they visit. For a broader look at which repairs suit a homeowner, read the home electrical repair guide.
Questions people ask
How long does GFI outlet installation take?
A swap of one outlet for a GFCI takes about 30 to 60 minutes for an electrician once they have access. A first-time DIY swap takes longer because of the testing. New wiring takes longer. The time depends on the wall and on what the electrician finds behind the old device.
What should I ask before I hire someone for GFI outlet installation?
Ask for the C-10 license number and check it with the Contractors State License Board. Ask whether a permit is needed, what the quote includes and what happens if older wiring is found. Ask how the GFCI will be tested and whether it will protect other outlets on the circuit.
Do I need to be home for GFI outlet installation?
Usually, yes, at least at the start and at the end. The electrician needs access to the panel and the outlet, and you will want to see the test before they leave. Outdoor and garage outlets may need less of your time. Agree it when you book.
Does a GFCI have to be tested after installation?
Yes. Press test and confirm that power cuts off, then press reset to restore it. Safe Electricity advises testing monthly after that. If pressing test does nothing, the GFCI is not protecting you and should be replaced.
Can I use a GFCI outlet on an ungrounded circuit?
Many GFCIs can protect an ungrounded two-wire circuit, and the device is marked accordingly, but you must not connect a ground that is not there. Rules for this case are detailed, so ask a local electrician or the City of Stockton permit center before doing it.
Sources used
Last changed